


How to Draw a Balloon – A Fun and Easy Balloon Drawing Tutorial
The title of this tutorial may be a little misleading because not only are we creating one balloon drawing, but we are drawing a whole bunch of balloons! By the end of this tutorial, you will have a colorful and celebratory bouquet of balloons on your canvas. From getting the shape and texture right to creating a realistic flow, we take you through everything that you need to know to create an easy balloon drawing.
Easy Balloon Drawing Tutorial in 16 Steps!
Balloons are cheerful and celebratory, and we are creating a bright and colorful bouquet in this tutorial! The basic shapes of your balloon drawing are fairly simple and quite repetitive, but the trick lies in getting the perspectives right. Some of the balloons will sit in front of others, so we will build up the bouquet in a few construction steps before creating the final outline and adding color.
When it comes to the drawing medium that you choose, it really comes down to what you feel most comfortable with. If you are a graphic artist, you can use your drawing tablet, or if you prefer a more physical medium like coloring pencils or markers, then you can easily adapt the coloring steps.

Step 1: Drawing Your First Balloon
Before we begin, fair warning that this first step is going to be a little repetitive. We are going to be creating a total of 13 balloons in this tutorial that all overlap with each other. To begin, let us draw the central balloon. Find the middle of your canvas, and draw a slightly tilted vertical oval.
This shape will represent the first balloon, and in the following steps, we will surround it with more balloon shapes!

Step 2: Adding the Next Two Balloon Drawings
In this step, you are going to add the next two balloon shapes overlapping with the first. Begin by adding a second balloon shape of the same size and shape on the left of the first one. This second balloon drawing should tilt in the opposite direction of the first, and sit ever so slightly lower. You can then add the third balloon overlapping the left of this second.
This third balloon should sit higher than the previous two and silt even more to the left.

Step 3: Beginning the Second Row of Balloons
We are now going to begin the second row of balloons. Start by drawing a slightly smaller balloon shape on the very right of the first row. This balloon shape should be significantly tilted to the right. Next, you can add a slightly larger balloon shape above the two balloons on the right. This first balloon of the next layer should overlap the tops of the two right balloons and should tilt towards the right.
You can see that we are creating almost a fan of balloons, with the outer ones leaning more significantly to their respective sides.

Step 4: Filling the Second Layer of Your Balloon Drawing
You can now add two more balloon shapes to the top layer of your easy balloon drawing. Repeat the same process, ensuring that the middle oval is the most upright. The oval shape on the left should be slightly tilted to the left. Remember that all of these ovals should overlap those around them.
This may seem odd now, but when we create the final outline, this will help us to create a full and three-dimensional bouquet.

Step 5: Creating the Third Row of Balloons
You can now add a third row of two balloons above the previous one. These two balloon shapes should sit in between the three on the second row and should overlap them quite significantly.
Remember to add a slight tilt in each direction for both of these balloon drawings.

Step 6: Completing the Top Row of Your Easy Balloon Drawing
For this step, you can draw two more balloon shapes on either side of the top two. In the tradition of the previous balloon shapes, these two should tilt towards each side more than the middle two.
You also want to make sure that these two side balloons overlap the bottom ones quite a lot.

Step 7: Finishing the Middle Row of Balloons
In the final construction step, you are going to add two more balloon shapes on either side of the middle row. Both of these balloon shapes should be very tilted to their respective sides.
Remember that both of these shapes should also overlap significantly with the end balloons of the top and bottom rows.

Step 8: Begin Erasing the Overlaps
We now begin the process of creating three dimensions in our easy balloon drawing. Let us start with the top line, erasing the bottoms of the top ovals where they overlap with the middle row.
In the next few steps, we will continue this process down the rows.

Step 9: Erasing the Middle Overlap Lines
Continue the process of erasing the overlap lines in the middle line. Erase the bottoms of the middle line of balloons in the bottom row.
You also want to erase the side overlaps between the balloons in the row.

Step 10: Finishing the Outlines of the Balloon Drawing
Finish the final outline of your easy balloon drawing by erasing the overlapping lines of the bottom row. For the finishing touches, you can add the air holes on the bottom of the four lower balloons.
This is where we are going to add the strings for the bottom ones in the next steps.

Step 11: Creating the Strings of Your Balloon Drawing
In this step, you are going to draw the string for each of the balloons leading to a central point. Begin with the bottom ones, taking a straight line from each of the air holes. You can then add a few more lines that extend from the general angle of each balloon.
Remember that you have a total of 13 balloons, so you want to make sure that there is a line for each one.

Step 12: Drawing the Knot and the Hanging Strings
The strings that extend down from the balloons are straight and taut, but after the knot, they are a little looser and flowing. Begin by drawing these loosened strings with a more natural curve, and then draw a knot or bow shape between the taut strings and the flowing ones.
We have drawn this knot in red, but you can choose any color that you would like to.

Step 13: Adding a Color to Your Balloon Drawing
Now that you have the shape of your easy balloon drawing finalized, it is time to add some bright and joyful colors. You can choose the colors that you would like, but we recommend four or five different shades. Use a small brush and paint each balloon with a fairly light coat of color.
You want to make sure that the construction lines are barely visible and that the color coat is even and smooth.

Step 14: Creating Depth in Your Easy Balloon Drawing
At this stage, our balloon drawing is looking a little flat. To add some definition and dimension, we are now going to add some shadows to the balloons. Before you begin adding paint, decide on a light source angle. We have decided for our example drawing that the light is coming from the right side of the canvas, meaning that the shadows on each balloon will fall on the left edge. Use a small blending brush and a tiny amount of black paint to add some shadows to each balloon.
You can also add some shading surrounding the top of balloons on each layer, to create more three-dimensionality.

Step 15: Adding Highlights
Shading is just one-half of the dimension formula. Highlights are the other half, and that is what we are going to do in this step. Use a small blending brush and some white paint to add an area of reflection onto each balloon. You can add the highlight in either a single line or several parts on each balloon. In terms of where to place the highlight, you want to add it on the top of each balloon and then on the relative side.
The balloons on the right should have a highlight down the right side and the highlight should be on the left of those balloons on the left.

Step 16: Finishing Your Easy Balloon Drawing
To finish your balloon drawing, you are simply going to erase the outlines of your balloons to create a seamless result. If you are using a drawing tablet, you can simply delete the outline layer. If you are working with a physical medium, simply trace over the outlines with the corresponding color of each balloon.
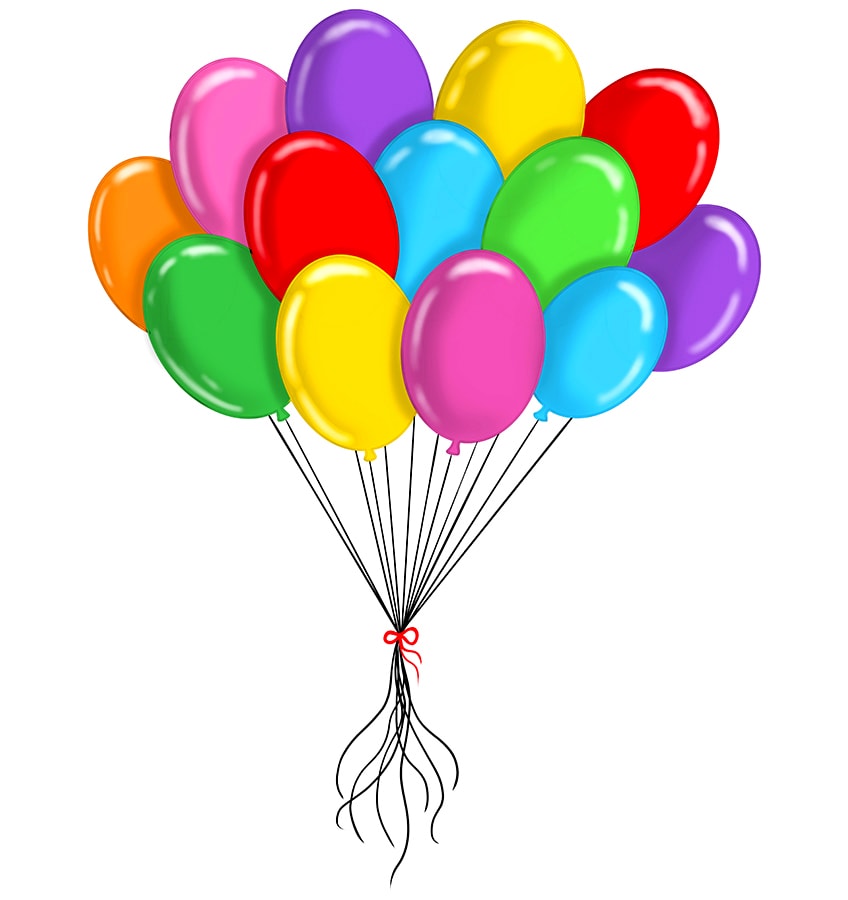
Voila! You have just created your very own cheerful and colorful bunch of celebratory balloons! Hopefully you have enjoyed this easy balloon drawing tutorial. We hope to see you soon for more fun and easy drawing tutorials!
Balloon Drawing Video Tutorial
Take a look at our balloon drawing webstory here!
Frequently Asked Questions
Is It Easy to Create a Balloon Drawing?
Learning how to draw a balloon is actually very easy! In our easy balloon drawing tutorial, we help you construct and then color a drawing of balloons to create a seamless and colorful final drawing.
What Colors Should I Use for My Easy Balloon Drawing?
The colors that you choose for your bouquet of balloons are entirely up to you. We do suggest that you use some bright and cheerful colors, however, as balloons are typically associated with joy and celebration.

Matthew Matthysen is an educated multidisciplinary artist and illustrator. He successfully completed his art degree at the University of Witwatersrand in South Africa, majoring in art history and contemporary drawing. The focus of his thesis was to explore the philosophical implications of the macro and micro-universe on the human experience. Matthew uses diverse media, such as written and hands-on components, to explore various approaches that are on the border between philosophy and science.
Matthew organized various exhibitions before and during his years as a student and is still passionate about doing so today. He currently works as a freelance artist and writer in various fields. He also has a permanent position at a renowned online gallery (ArtGazette) where he produces various works on commission. As a freelance artist, he creates several series and successfully sells them to galleries and collectors. He loves to use his work and skills in various fields of interest.
Matthew has been creating drawing and painting tutorials since the relaunch in 2020. Through his involvement with artincontext.org, he has been able to deepen his knowledge of various painting mediums. For example, watercolor techniques, calligraphy and lately digital drawing, which is becoming more and more popular.
Learn more about Matthew Matthysen and the Art in Context Team.


