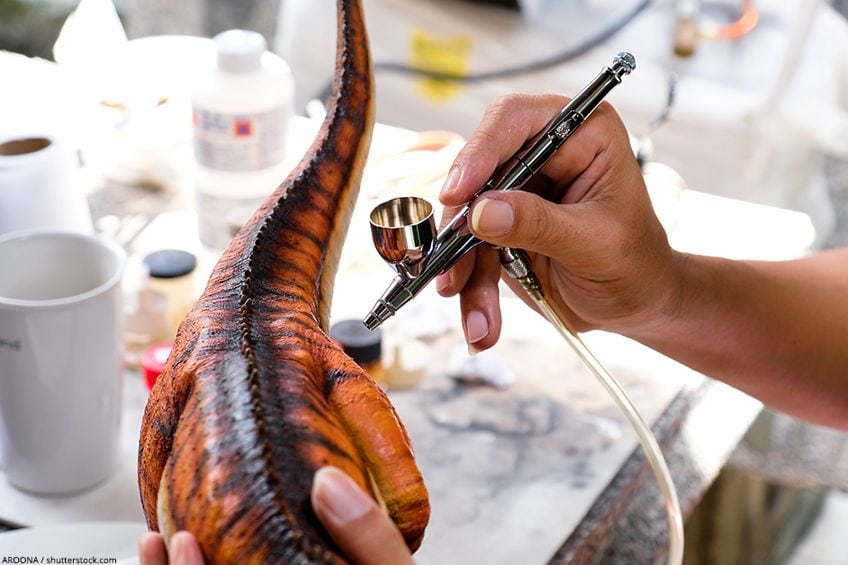
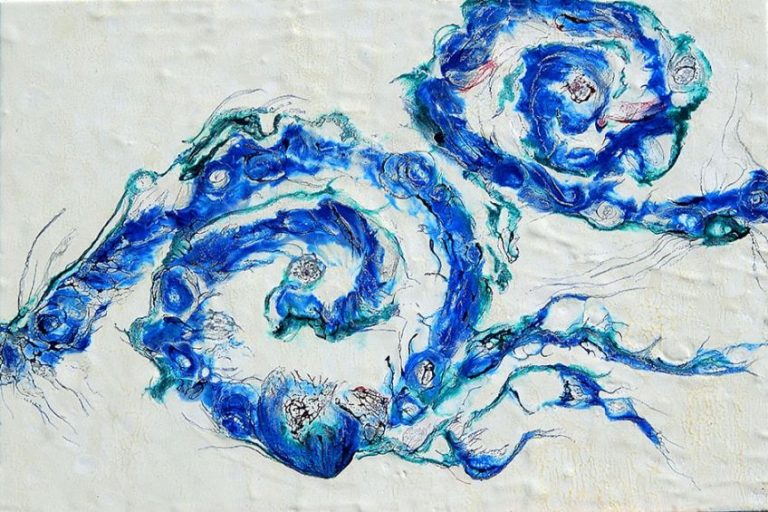
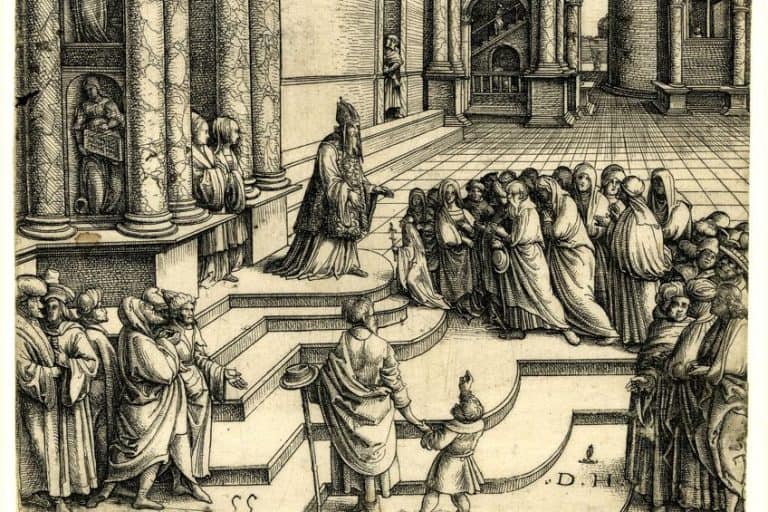
Airbrush Art – A Beginner’s Guide to Airbrush Painting
There are more than a few ways you can go about painting a surface. Since the discovery of paint, one of the most common ways to paint a surface has been to use a brush or roller to get the job done. However, since then, we have developed many easier and often quicker ways of applying paint to a surface. These application techniques have revolutionized various industries and even spawned industries of their own, but one of the most interesting means of applying paint has to be the art of airbrushing. While remaining a pretty niche art form, airbrushing has skyrocketed in popularity since its inception, and as the technology and materials have become more readily available many budding artists have found new and exciting applications for this art form. This being said, let’s have a look into what an airbrush is, how it works, how they’ve come about, and what notable artworks have been created through this medium.
Table of Contents
- 1 What Is an Airbrush?
- 2 How Exactly Does an Airbrush Work?
- 3 Who Are Some Noticeable Airbrush Artists?
- 4 Are There Different Types of Airbrushes?
- 5 Paint Supply Configuration
- 6 What Do You Need to Get Started With Airbrush Art?
- 7 How to Use an Airbrush
- 8 Frequently Asked Questions
What Is an Airbrush?
You’ve probably seen airbrush art at some point in your life, right? There are brilliant murals all over the world that depict a wide variety of subject matters, all of which have been created by this revolutionary paint application technology. So, we know what can be made with an airbrush, but what exactly is it and how does it work?
Originally, we thought that airbrushing was invented in the early 1890s, but thanks to research done by some really smart people, we now know that one of the first airbrushes was designed and operated in the late 1870s and consisted of a pretty crude design which needed air to be manually cranked through to facilitate the atomization process.
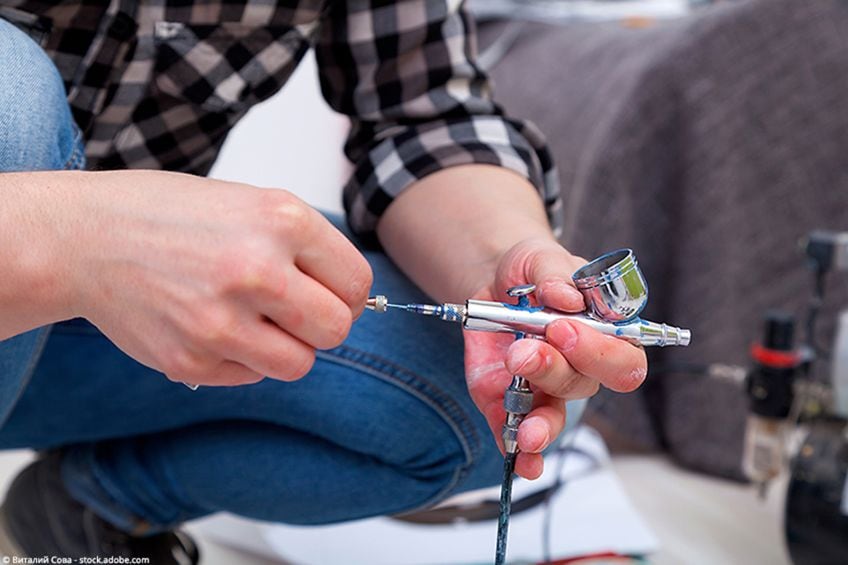
Although crude, this is what airbrushing is once your strip away all of the nitty-gritty stuff; it’s a small handheld dispenser with a trigger attached to it. There is a small button on the trigger which when pressed controls a small needle. This needle controls the flow of air within the device, and when lifted by applying pressure to the trigger this needle allows for the atomization of paint.
Where is the paint stored? Well, these days it’s usually housed in a small container that is either directly attached to the airgun or housed in an auxiliary container that is connected to the airbrush via a hose. Regardless of which feed mechanism is used, the paint is fed to the nozzle at the edge of the airbrush.
Once the trigger is pressed it causes the paint to be atomized into a fine mist, which then lands on the target surface.
To someone that has never seen or heard of an airbrush before, it looks like a little pen with a little tube attached to it that sprays paint. Think of it as a conventional paint sprayer, only a lot smaller and capable of doing far more detailed work than its larger counterpart. Airbrushes are typically used for things like murals or custom automotive artwork because of their unique ability to blend colors together almost seamlessly.
How Exactly Does an Airbrush Work?
Although we mentioned this in passing previously, it’s important to understand how an airbrush works in a little more detail in case you need to do some DIY repair work or if you ever need to order replacement parts (or intend to customize your airbrush). The primary concept on which an airbrush functions is pretty simple.
Compressed air passes through a venturi which is basically a tapered hole. This happens at quite a high speed, and as this air passes over a recess connected to the container housing your paint it creates a drop in pressure which forces the paint up and allows the flow of air. While being sucked up and following this stream of air the paint becomes atomized (cut into really small droplets).
The paint and air mixture eventually reach the spray tip, which then distributes the now atomized paint across the surface you’re spraying. Pretty cool, right? One of the best parts about airbrush painting is that you can control the intensity, radius, and spray pattern of your paint to a degree that is pretty much impossible with larger paint sprayers.
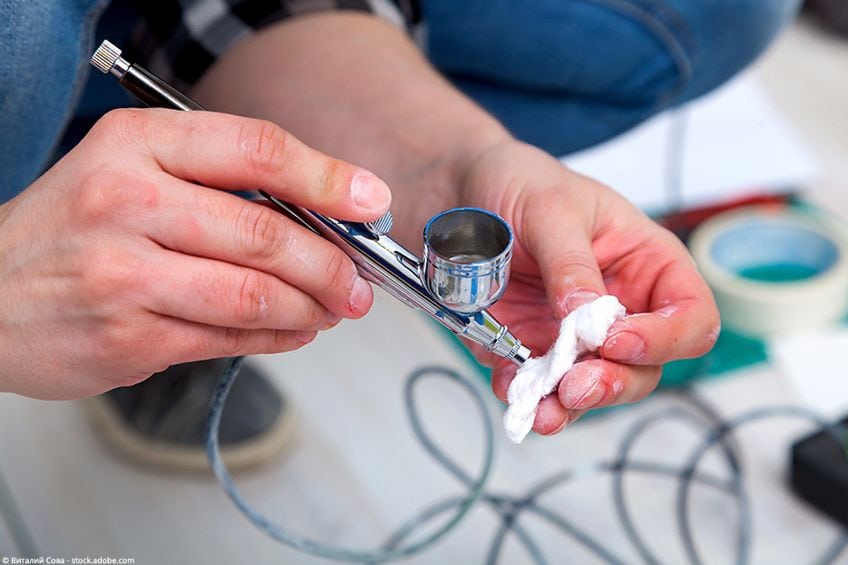
In fact, professional airbrush artists are capable of blending and forming their subject matter in such extreme detail that their airbrush art can resemble actual photographs. This degree of proficiency can take years to acquire and a lifetime of commitment on your part, but this doesn’t mean that you won’t be able to make incredible works of art with just a little bit of practice in your spare time.
How does an airbrush allow for such intricate detail in airbrush art? Well, unlike larger paint sprayers airbrushes use less compressed air to apply paint to your workpiece, this in addition to using spray tips that are impossibly small means that the mist of spray produced is far finer, which means that colors can be blended far more easily and on a smaller scale.
How much less air pressure does an airbrush use compared to a conventional sprayer you ask? Well, most compressed air paint sprayers use around 100 PSI of pressure to produce a consistent application of paint without any splatter.
An airbrush on the other hand only needs around 20 PSI to do the same thing, and if you have the time and the correct spray tips, you could probably paint surfaces of a size that would usually warrant the use of a full-sized sprayer.
If you’ve done some spray painting before then you know that atomized paint particles pose a significant risk to your health. If inhaled these particles can cause long-term damage to your lungs and respiratory system, so ensure that your work area is well ventilated that you always wear a mask graded for use with aerosolized paints when working with an airbrush.
Who Are Some Noticeable Airbrush Artists?
Every art medium has its exceptional practitioners, and airbrushing is no different. Airbrushing takes a while to become proficient at, so those that have developed their skills to a point where they are considered masters of the craft. Let’s have a look at a few of the most renowned airbrush artists and some of their most famous works to date. Airbrushing can be completed on many different surfaces, from metal and wood to t-shirts and cakes, and there are professional artists in all aspects of the medium.

John Latham (1921-2006)
While the modern depiction of an artist generally involves loads of Instagram posts while trying to make a living off a liberal arts degree (not as easy as it sounds) things were a bit different in the 1930s and 1940s. John Latham was born in Zimbabwe and attained British citizenship, he participated in the second world war, joined the naval reserves, studied the arts, and was best known for his performance-based artwork. Although his initial weapon of choice was an aerosol spray can, he did later move on to airbrushing which earned him great success and popularity in local circles at the time.
He also had a proclivity for burning books in the interest of performance art, which later developed into one of his most famous works dubbed God is great (1991) in which he bisected several holy books and displayed them on glass.
Barrie Cook (1929-2020)
Considering that airbrushing saw its initial rise in popularity in the United Kingdom, it should come as no surprise that one of its most renowned artists and artworks come from the same place. Barrie Cook is pretty much one of the biggest names in airbrushing and his works have often tested the limits of the detail one can achieve through this medium. Loads of his works are held in various national collections, being curated, and displayed in museums and exhibitions all over the region.
Although Mr. Cook is no longer with us, during his life he would frequently display his new and old works, and at times when he was not busy creating his next masterpiece, he could be found teaching a new generation of artists at the Coventry College of Art and other fine art institutions.
James Rosenquist (1933 – 2017)
If you’re interested in more commercially appealing artwork, then the works of the world-famous James Rosenquist might be right up your alley. Starting his career in the field of commercial drawings and signage, Rosenquist channeled this style into his later works, which closely resembled the largely popular works of pop-art magnates Andy Warhol and Roy Lichtenstein. His works featured sensationalized depictions of everyday objects that were often juxtaposed with one another to create a subtle commentary on consumerism in the modern age.
It seems that his work in the advertising industry fostered a jaded attitude toward the commercialization of commodities, and this is thoroughly expressed in the majority of his artwork.
Are There Different Types of Airbrushes?
Yes! Just like there are different types of paint sprayers there are indeed different types of airbrushes on the market today. All of them are unique and have been designed to suit certain applications, so let’s have a look at some of the airbrush types you’re likely to come across on your airbrush painting journey. You can learn more about the different airbrush guns at airbrush-expert.com.
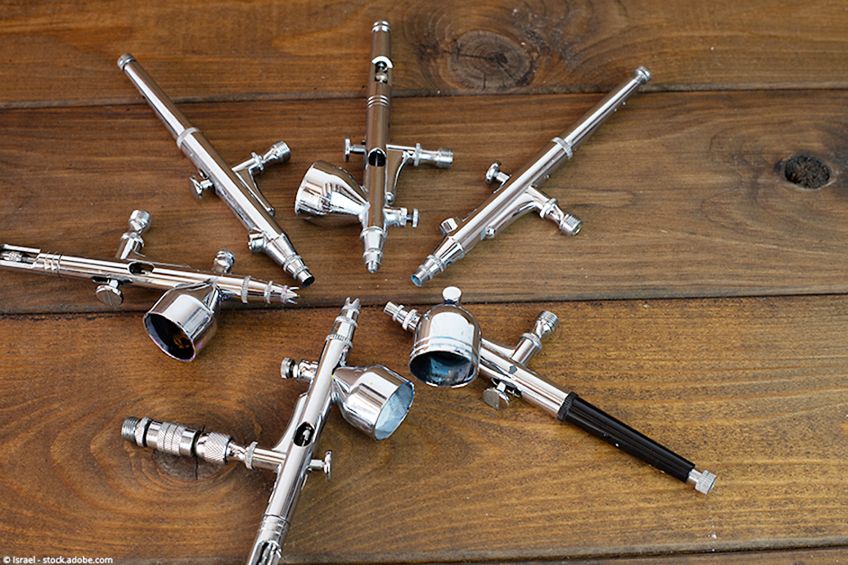
Double Action Trigger Airguns
Like professional oil painting, airbrushing is considered a fine art in most circles of the art community because it takes a while to master and develop your technique. Double-action airbrush units and the ones most commonly used by professionals because of their unique trigger mechanism that allows you to control the flow of both your paint and airflow.
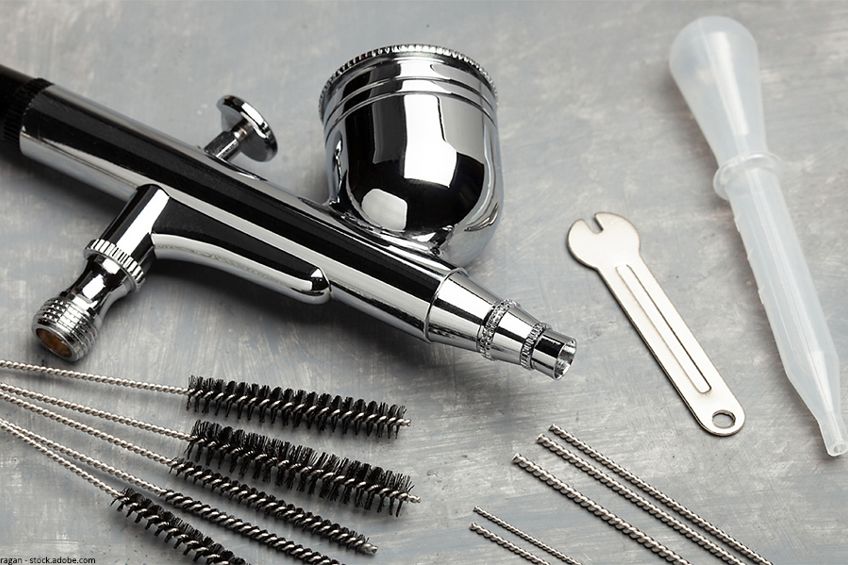
How does this work? Well, double-action airbrushes have a trigger that fulfills two functions: This is the flow of compressed air and the amount of paint secreted for the painting process. How does it manage this? Well, the button on top of the spray gun controls two mechanisms; a pull mechanism that controls the amount of paint supplied to the spray tip and the push mechanism which controls airflow. Pulling the trigger back increases the amount of paint supplied to the spray tip and releasing it causes the inverse. Pushing the trigger down toward the shaft increases the airflow which activates the spray function.
This dual function trigger can take a while to get used to especially if you’ve gotten used to a conventional trigger setup.
Best Double Action Airbrush: MASTER AIRBRUSH Performance Pro Set
If you’re in the market for a double-action airbrush why not try out this one from the Master Airbrush team? Its sleek design and lightweight make it a joy to handle for more detail-oriented workpieces. Not to mention that it comes ready with a variety of spray tips that will enable you to tackle pretty much any airbrushing project that comes your way.
- Professional dual-action gravity feed airbrush set and accessories
- The set includes three different nozzle sizes and a 6-foot hose
- The cutaway handle allows for quick flushing and cleaning
While the MAster Airbrush team does say that this unit can be used by beginners and novice artists, we think that it’s best suited for those who have adequately developed their skills due to the sensitivity of its trigger mechanism. This unit is pretty versatile too, feel free to use it for ordinary airbrushing, use it with food-safe paint to decorate cakes or fill it up with nail paint.
PROS
- Versatile
- Easy to use
- Sleek design
- Reputable brand
- Light weight
- Reasonably priced
CONS
- Not suitable for beginners
- Only comes with three needles
- Spare hoses not included
Automatic Trigger Airbrushes
As you can imagine, it can take a bit of time and effort to master the double-action trigger configuration, and if you’re not in it the love of the craft, it can get a bit frustrating, especially if you’ve been at it for a few hours and your motor skills are starting to let you down. It’s for this reason (and likely simplicity) that the automatic trigger airbrush exists.
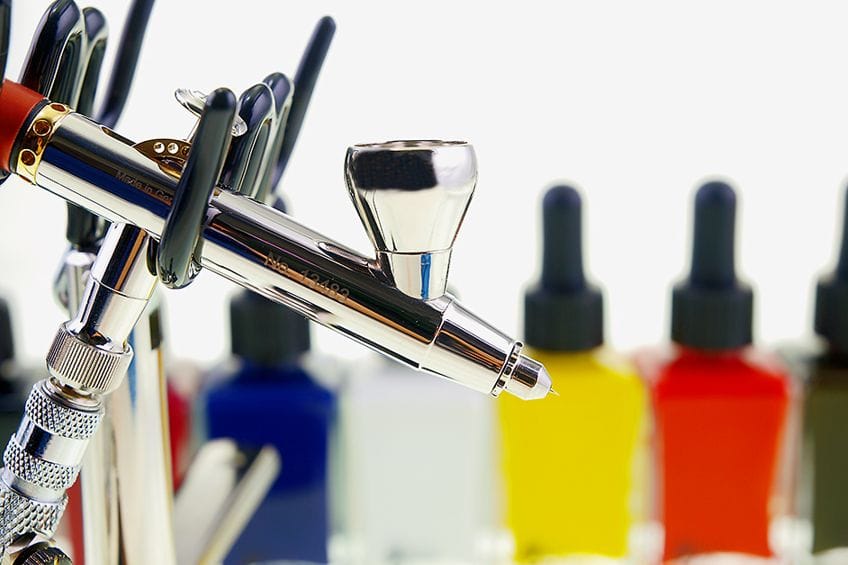
In principle, the automatic trigger airbrush has the same function as the one we mentioned previously, the only difference being that one of these functions has been automated for ease of use. The function in question is the air control, so instead of you having control of both the paint and airflow, the slide function controls both the air and paint flow of your airbrush. This ease of use makes them one of the most purchased unit types, and they’re often used as an intermediary for those who are one day hoping to master the double-action trigger units.
This airbrush allows for the attention to detail and finish quality as the double trigger unit, but it does mean that you’re sacrificing fine adjustment of your airflow.
Best Automatic Trigger Airbrush: ITAWA-MEDEA Revolution CR
If you’re in the market for an automatic trigger airbrush we think that this one from the Itawa-Medea team might be just what you’re looking for. This one also has quite a sleek design and has a reliable gravity feed mechanism which ensures that your paint supply is always optimum and ready for you exactly when you need it.
- A dual-action, top-feed airbrush with an internal mix mechanism
- Includes a larger nozzle and needle combination for easy spraying
- The ergonomic design allows for easy assembly and cleaning
Designed with simplicity in mind, this unit does the mixing of paint and air for you, which frees your mind up to focus on your latest and greatest airbrush creation. Its internal mechanisms are solvent-proof too which means you won’t have any trouble cleaning it, and thanks to its thicker internal needle you’ll be able to spray thicker paints with little to no problem.
PROS
- Versatile
- Easy to use
- Solvent friendly internals
- Ideal for spraying thicker paints
- Reasonably priced
- Ideal for beginners
CONS
- Not ideal for more skilled artists
- Not extra needles included
- Not additional hoses included
- No thread adapters included
Pistol Grip Airbrush
If you’re looking for something a bit more pedestrian, then why not try out an airbrush with a configuration closer to something you have used before? The pistol grip trigger airbrush, as the name suggests, has a pistol grip and trigger. This comes in stark contrast to the futuristic pencil aesthetic that most airbrushes are associated with, but it’s a blast to use and is a solid choice if you’re looking for your first airbrush.
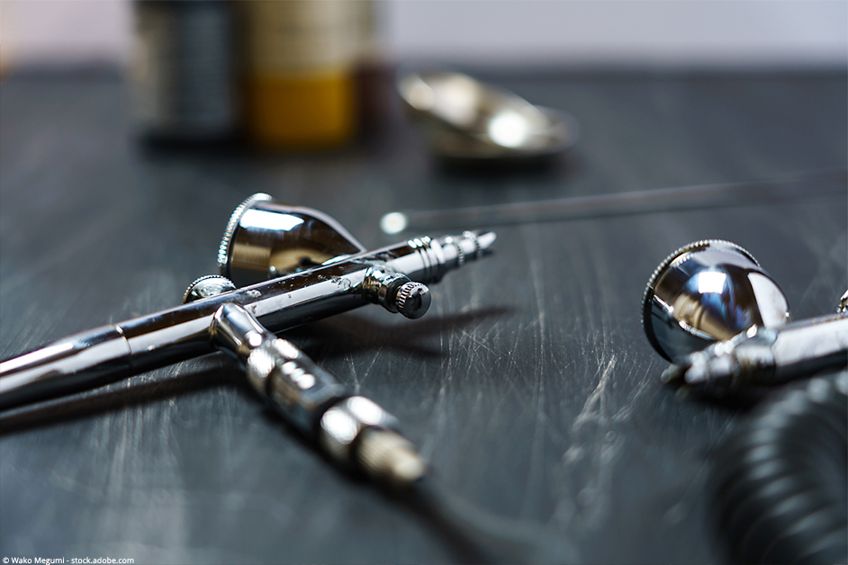
The pistol grip airbrush configuration is significantly easier to manage and can be used in a number of different applications. Those of you who have used a conventional paint sprayer might find this configuration a lot more familiar compared to some of the others we’ve covered so far, in fact, this is one of the best entry-level configurations for those who are interesting in airbrushing. How does this configuration work? Well, unsurprisingly it has a lot to do with the trigger. Much like the automatic configuration, this airbrush type connects both the airflow and paint flow to the trigger mechanism.
A light pull on the trigger activates the airflow and engaging the second stage of the trigger will engage paint flow. Simple but extremely effective, which is why it’s ideal for beginner airbrush painting.
Best Pistol Grip Airbrush: MASTER AIRBRUSH Multi-Purpose Pistol Trigger Airbrush
If you’re looking for a pistol grip airbrush you can trust to get the job done we recommend this one from the Master Airbrush team. Like all of their products, the design was created with the artist in mind, featuring an ergonomically friendly stance that’s sure to have you working for hours without your hands cramping up.
- The dual-action airbrush features a precision pistol trigger
- Comes with a 0.3 mm needle and nozzle with 3 fluid cup sizes
- A versatile airbrush for hairline detail and larger area fills
This unit comes with three hopper sizes for you to choose from, which means that if you’re spraying larger workpieces, you won’t find yourself having to constantly replenish your paint supply. This truly is the best of both worlds as it provides the feel of a paint sprayer with the detailed oriented spray applicator that airbrushes are known for.
PROS
- Easy to use
- Ergonomically friendly
- Easy to control
- Versatile
- Ideal for beginner artists
- Multiple hopper sizes included
CONS
- Expensive
- Hoses not included
- Not as intuitive as conventional brush configurations
Single-Action Airbrush
This one is a crowd favorite, especially for a beginner airbrush artist. There are more than a few ways you can begin your airbrush journey, but if you’re looking to move on to a more intricate configuration later on, the single-action configuration will set you on the path to getting accustomed to the look, feel, and operation of double-action and automatic-action airbrush configurations.
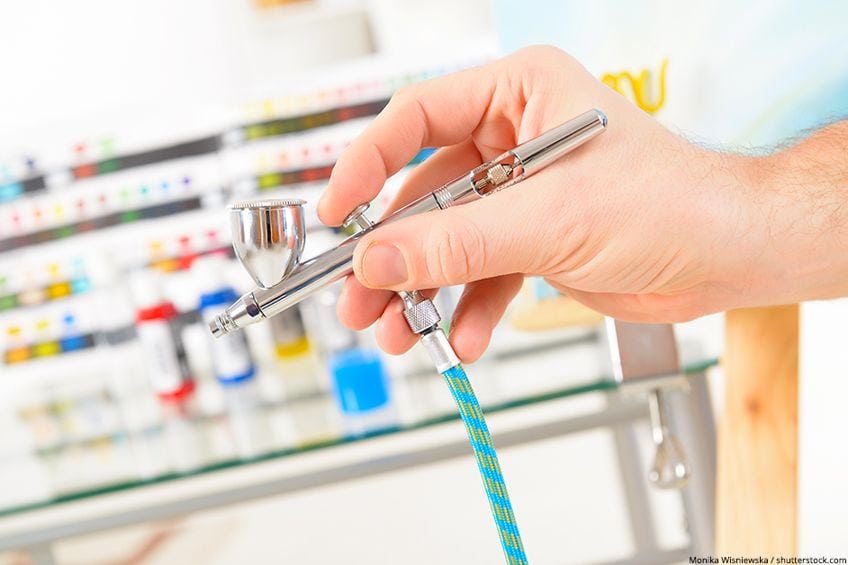
This one is even simpler to use than the pistol grip unit. In fact, if you’ve used aerosolized paint cans before, then this one should feel quite familiar. All you need to do is press the button that controls the flow of both paint and air. Some units in this configuration do have variable air control but most of them use a single setting. As you can imagine, this isn’t exactly what a professional airbrush artist would use and is therefore reserved for those who are new to the medium. It’s pretty easy to get started with units of this type too, all you need to do is fill up your paint hopper, plug in your air supply and get working.
You can control your paint volume using trigger pressure though, so this unit isn’t completely static in its design.
Best Single Action Airbrush: PAASCHE Airbrush Single Action Siphon Feed Airbrush Set
If you’re looking for a good first airbrush, we think that you’ll find this one from the Paasche team easy to use and even easier to set up. If you’re looking to just get started in the airbrushing medium without having to worry about the learning curve, then we think that this unit might be exactly what you’re looking for.
- Single action siphon feed airbrush with .45, .65 and 1.05mm heads
- Perfect for beginners or those requiring quick and easy spraying
- Comes with a number of additional and useful attachments
The Paasche team provides you with pretty much everything you’ll need to get started except the paint and a supply of compressed air. All you need to do is fill this airbrush up, pick your target, and you’re pretty much ready to start your airbrushing journey. If you’re a beginner and are committed to developing your airbrushing skills, we think this is a good jumping-off point.
PROS
- Easy to use
- Ideal for beginners
- Includes a number of attachments
- Reputable brand
- Includes two hoppers and a hose adaptor
CONS
- Limited control over paint and air mixture
- Not ideal for skilled airbrush artists
- No extra needles included
Paint Supply Configuration
As you’re probably gathered by now, airbrushes are essentially smaller versions of conventional paint sprayers. This being said, just like paint sprayers have different configurations for their paint supplies, so do airbrush units. Choosing a paint supply configuration can be tough, so let’s have a look at some of the common configurations you could encounter on your journey.
Gravity Feed
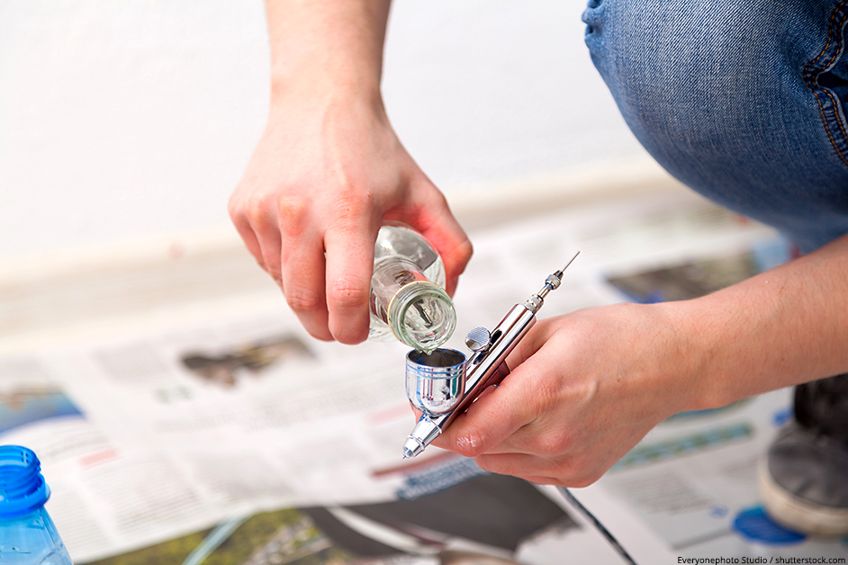
Gravity-fed paint supplies use their weight in relation to the earth to feed paint to your airbrush. How does it do this? When an airbrush has a gravity feed configuration, it means that the container or “paint hopper” is situated on top of the airbrush. This allows the paint to be fed directly to your unit without any assistance from compressed air.
The downside of this configuration is that it can limit your range of movement and inflict significant strain on your wrists.
Siphon Feed
Siphon feed paint supplies are one of the most common means of paint supply on any spray-painting unit that utilizes compressed air. In this configuration, the hopper is located underneath the airbrush and features a tube running through it.

Once the air passes over the top of the tube at the mouth of the bottle, the paint is siphoned off into the airbrush housing and fed ward the spray tip for atomization and application to your workpiece. Siphon feed configurations can be awkward to work with, can limit your range of movement, and be tricky to work in tight spaces.
Side Feed
Side feed airbrush feeds are one of the least commonly used types of paint feeds for airbrushes. This is because they can be awkward to work with in some instances and can be a bit complicated to work with considering that they use both gravity and compressed air to assist in paint delivery. What exactly is a side feed paint supply? Well, as the name suggests, the hopper is located on the side of the airbrush, so it uses gravity to feed the majority of the paint into the airbrush housing while using compressed air as a supplementary supply mechanism.
While you might think this configuration offers the best of both worlds it isn’t ideal for every application and can be a bit awkward to manage.
What Do You Need to Get Started With Airbrush Art?
Does this all seem like a bit much to take in? Well, don’t worry airbrushing is actually pretty simple, and the more time you spend using your airbrush the more confidence you’ll develop. What will you need to get started in the world of airbrushing though? Let’s have a look at a few of the essentials you’ll need to get started in this medium as well as some smart choices you can make from the get-go to ensure that you won’t have to spend more later on.
Airbrush Gun
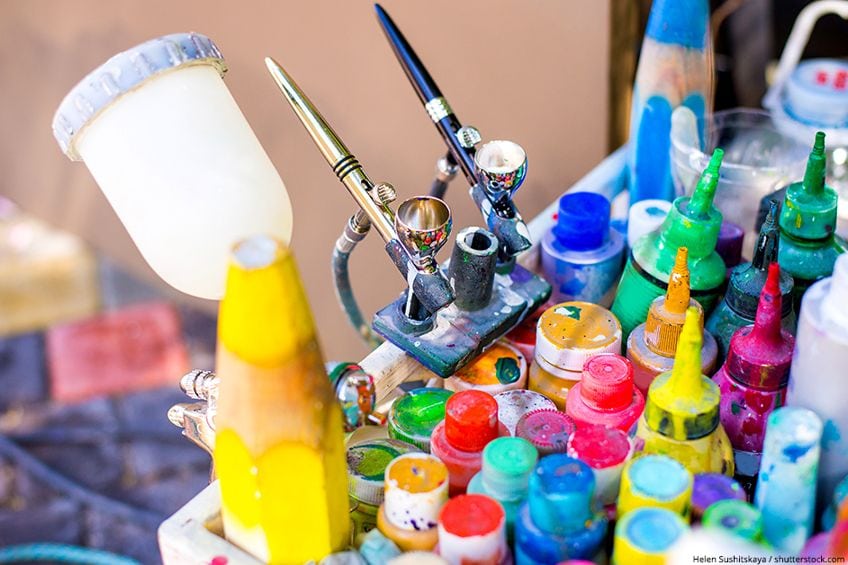
As we mentioned previously there are a few airbrush types for you to choose from, each with its unique advantages and disadvantages depending on the application. Although there are four unit types for you to choose from, they can be placed into two primary groups, namely single action, and dual-action trigger units. Single action brushes are best suited for beginners who are looking to cut their teeth in the art of airbrushing, whereas double action brushes tend to be better for those looking to improve their skills and create artwork with more intricate tonal values and/or improve their bending skills.
Remember that it might seem simple in theory to control air and paint flow separately, but it can be mentally taxing and requires quite a bit of practice to execute with proficiency.
A Compressor Unit
It’s safe to say that if you’re going to be using an airbrush, you’ll be needing some air. How that air is supplied to your airbrush unit is entirely up to you, but you should do your best to choose a compressed air supply that suits your needs and of course your available space. This being said, there are two primary means of air supply for you to choose from. Your first and most commonly used option is an air compressor. These come a in variety of shapes and sizes. We recommend choosing one capable of consistently supplying 1.5 or 2.2 bars of pressure. The second option is a turbine, which supplies compressed air directly to your airbrush unit without storing it in a canister first.

These are also available in a number of shapes and sizes, so choose one that suits your needs and most importantly connects to your unit hassle-free. Once you have settled on the type of air supply you’d like for your airbrush, you should consider the type and length of hoses you’ll need for both your paint and air supply. Most compressors and airbrushes are sold with hoses but depending on your preference and brand you might need things like hose adaptors, longer or braided hoses, or simply hoses that are of better quality.
Paint for Your Airbrush
Whether you’re airbrushing or using a brush and roller, the type of paint you use can have a huge impact on the finish and overall aesthetic of your workpiece. Choosing the wrong paint for your workpiece or one that is unsuited to where your workpiece will be situated and/or used could result in you having to repaint it within a few days. What kind of paint should you choose then? Well, the two choices you have when painting with an airbrush are lacquer-based or water-based (latex) paints.
While lacquer paints are robust and highly resistant to damage, they do contain volatile organic chemicals (VOCs) and can be hazardous to your health. Water-based paints on the other hand are completely free of VOCs but they lack the durability of lacquer-based ones.
Besides the type of paint you’ll be using, you should consider the type of finish you’d like on your workpiece. Both paint types have a wide variety of finishes for you to choose from including matte, gloss, semi-gloss, eggshell, and metallic. When choosing a finish for a workpiece, consider its shape, application, size, where it will be situated, and how it will interact with both natural and artificial light sources.
Personal Protective Gear
Personal protective gear is as important as your airbrushing equipment. Regardless of the type of paint you’re using or the size of your workspace, you should ensure that you’re always wearing the appropriate personal protective gear when working with aerosolized paints. This includes a pair of gloves, a respirator, and eye protection graded for use with aerosolized paints.
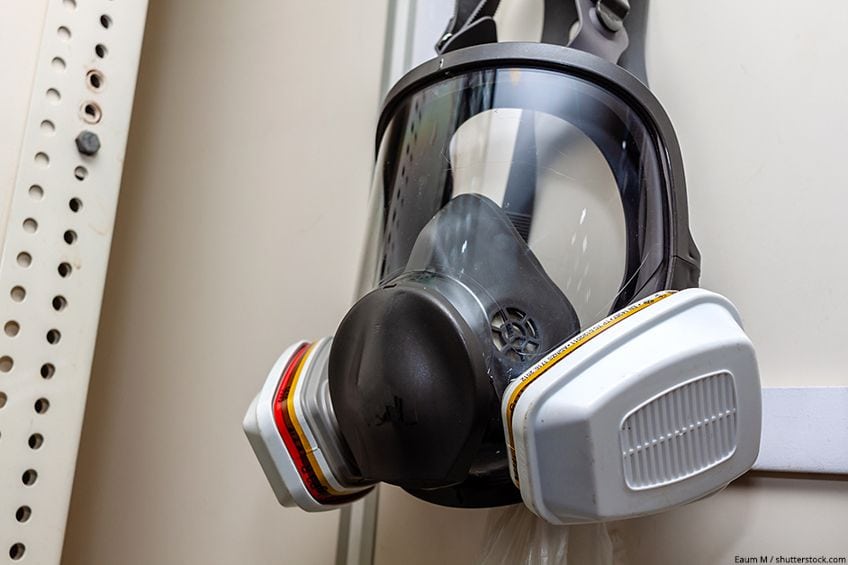
You should also ensure that your workspace is well ventilated. How do you do this? Ensure that there is a cross-flow of air in your workspace so that any particulates that become airborne are dissipated as quickly as possible. To protect your workspace, you can get away with a tarp or some old newspaper and painter’s tape.
How to Use an Airbrush
Wondering how to use an airbrush? There are various airbrush techniques that you can implement when painting, all of which can take some time to become proficient at. This being said, what do you need to simply get started? We’ve prepared a short tutorial detailing how to set up your workspace and how to use your airbrush for the first time without creating too much of a mess. Remember that you always develop different airbrush techniques as your comfort and skill levels grow. There are loads of YouTube tutorials detailing more advanced techniques and even custom modifications you can make to your airbrush unit.
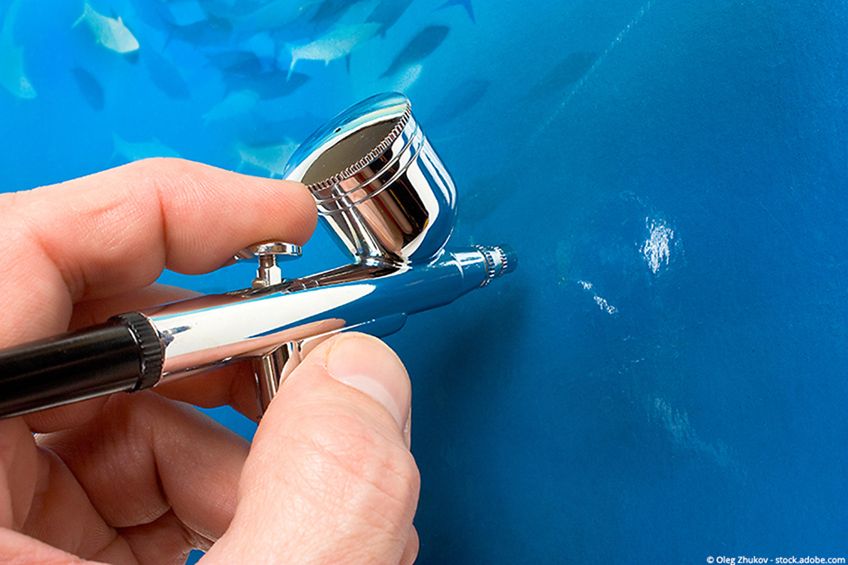
Prepare Your Workspace
Like paint spraying, you don’t need loads of technical knowledge to get started in airbrushing, but it’s important to be prepared. Prepare your workspace by ensuring that it is well ventilated and that you have covered any surfaces that could accidentally get some paint on them. You can do so by laying down a tarp or some old newspaper on the floor of your workspace and workbench and then securing them with some painter’s tape. Once your workspace has been prepared ensure that you are protected. We recommend always wearing a ventilator unit when working with aerosolized paints and ensuring that both your hands and eyes are protected with gloves and goggles graded for use with airborne particulates.
Once you and your workspace have been prepared it’s time to get your airbrush ready.
Prepare Your Airbrush
Preparing your airbrush unit is easy and usually only takes a couple of minutes. First off, ensure that all of your hoses, extensions and connectors are secure and locked in place. This includes the hoses for both your air supply and those responsible for your paint supply. If you’re using a hopper, ensure that it has been threaded correctly and that there aren’t any obstructions like old paint or dust on its interior.
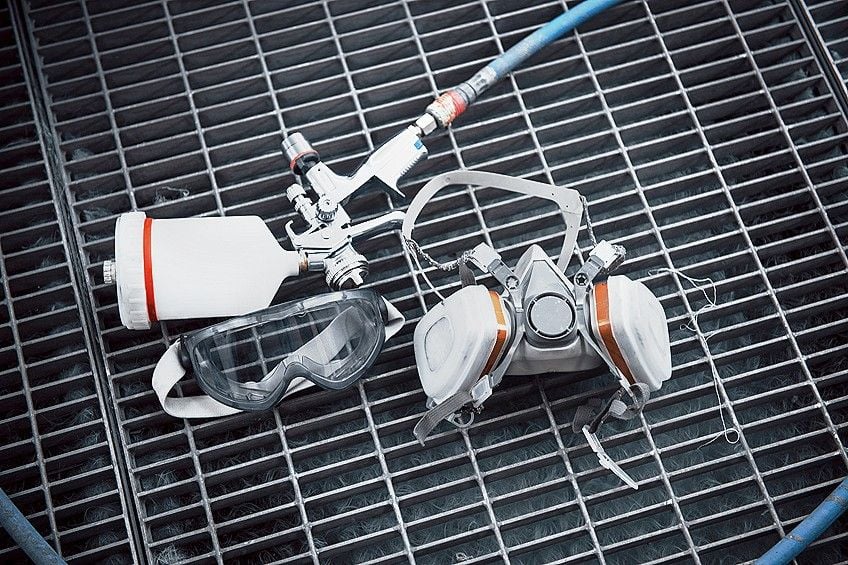
Next, prepare your paint and throw it into your hopper or exterior paint canister. Ensure that you give your paint a good stir before adding some to your hopper to ensure that the heavier elements that may have sunk to the bottom of the container while it was sitting around are thoroughly mixed in. Finally, ensure that you have sufficient (and consistent) air pressure via your compressor/turbine by performing a test spray on a spare piece of material.
Create Your Stencil
This part isn’t completely necessary, but it does help especially if this will be your first time. You have a couple of choices, you can either sketch out a stencil and cut it out, or you can use one of many ready-made airbrush stencils on the market.
You could even cover an entire surface in some painter’s tape (preferably something hard like wood) and use a knife to cut out the form you’d like to paint.
Begin Painting Your Workpiece
Now for the part you’ve been waiting for. It’s time to get painting. If you’re using a double-action airbrush, you’re going to want to supply your air fist (pressing down on the trigger) and then allow your paint to flow through (pulling the trigger toward you). This will ensure a slow and deliberate delivery of paint to your workpiece and will allow you to control the gradient and intensity of color.
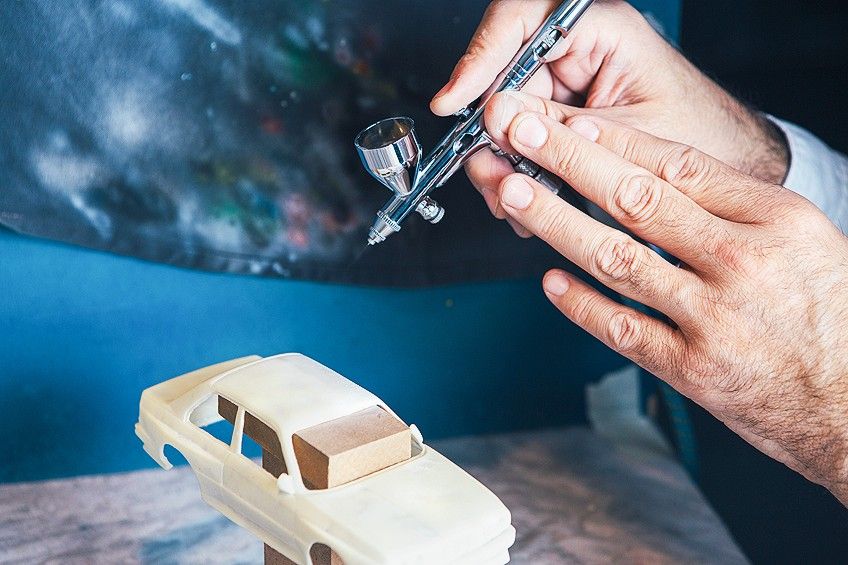
We recommend practicing a bit in order to get a good feel for the trigger mechanism, and even if you’re using an automatic or pistol grip unit, it can take some getting used to. Practice color flow, gradients, applying multiple coats, and slowly stopping paint flow before airflow. With a bit of practice, you’ll be well on your way to creating masterpieces of your own in no time at all!
Now that you know what airbrushing is, how these awesome tools came to be, what they can be used for, what you will need to get started, some famous artists in this medium, and how to use these devices, it’s time for you to get out there and put your new-found knowledge to the test. Remember to always work in a well-ventilated area, practice regularly, and always wear the appropriate personal protective gear when working with your airbrush.
Frequently Asked Questions
What Is Airbrush Graffiti?
Airbrush graffiti is pretty much the same as any other type of graffiti you’d come across in sprawling urban centers all around the world. Using an airbrush to paint in this style allows you to create greater detail and color gradients than you would be able to with a conventional spray can. Like conventional graffiti, airbrush graffiti can be done freehand, by using a stencil, or a combination of the two.
What Is Airbrushing?
What is airbrushing? Airbrushing is a painting technique involving the use of compressed air to aerosolize paint and apply it to a surface of your choosing. Unlike conventional paint sprayers, airbrushes are small and resemble metallic pens with triggers located on the top of the shaft. Airbrushes are known for enabling artists to create intricate detail and beautiful color gradients, unlike any other paint spraying device.
What Are the Most Common Airbrush Uses?
Airbrush uses are broad and span a number of industries all around the world. Initially, they were used to apply paint to small intricate workpieces, but they have since been used to apply make-up, paint large murals on the wall, create canvas paintings, create custom art of automobiles, and they can even be used to decorate food using food-safe dyes and paints.
In 2005, Charlene completed her Wellness Diplomas in Therapeutic Aromatherapy and Reflexology from the International School of Reflexology and Meridian Therapy. She worked for a company offering corporate wellness programs for a couple of years, before opening up her own therapy practice. It was in 2015 that a friend, who was a digital marketer, asked her to join her company as a content creator, and this is where she found her excitement for writing.
Since joining the content writing world, she has gained a lot of experience over the years writing on a diverse selection of topics, from beauty, health, wellness, travel, and more. Due to various circumstances, she had to close her therapy practice and is now a full-time freelance writer. Being a creative person, she could not pass up the opportunity to contribute to the Art in Context team, where is was in her element, writing about a variety of art and craft topics. Contributing articles for over three years now, her knowledge in this area has grown, and she has gotten to explore her creativity and improve her research and writing skills.
Charlene Lewis has been working for artincontext.org since the relaunch in 2020. She is an experienced writer and mainly focuses on the topics of color theory, painting and drawing.
Learn more about Charlene Lewis and the Art in Context Team.
Cite this Article
Charlene, Lewis, “Airbrush Art – A Beginner’s Guide to Airbrush Painting.” Art in Context. April 13, 2022. URL: https://artincontext.org/airbrush-art/
Lewis, C. (2022, 13 April). Airbrush Art – A Beginner’s Guide to Airbrush Painting. Art in Context. https://artincontext.org/airbrush-art/
Lewis, Charlene. “Airbrush Art – A Beginner’s Guide to Airbrush Painting.” Art in Context, April 13, 2022. https://artincontext.org/airbrush-art/.


