


How to Paint Glass Bottles – Step-by-Step Glass Decorating Guide
Glass bottles and jars are incredibly versatile objects with many different uses. Painting on glass can be a great way to customize and personalize your home and kitchenware. Many people are also consciously choosing to take sustainable routes by using glass over plastic. In this tutorial, we will guide you through how to paint glass bottles, how to prepare and preserve your glass bottle painting, as well as cover some other great glass bottle decoration ideas.
Preparation Needed for Glass Bottle Painting
Glass bottle painting can be a great way to spice up your kitchen decor. You can also create bottle art to hold a bouquet, label food, and preserves, as well as feature them as decor pieces within your home space. There are just a few preparations you will need to make before you start learning how to paint on glass bottles.
Begin the process by selecting the glassware you want to paint based on what you hope to use the decorated object for.
Selecting and Preparing Your Glassware
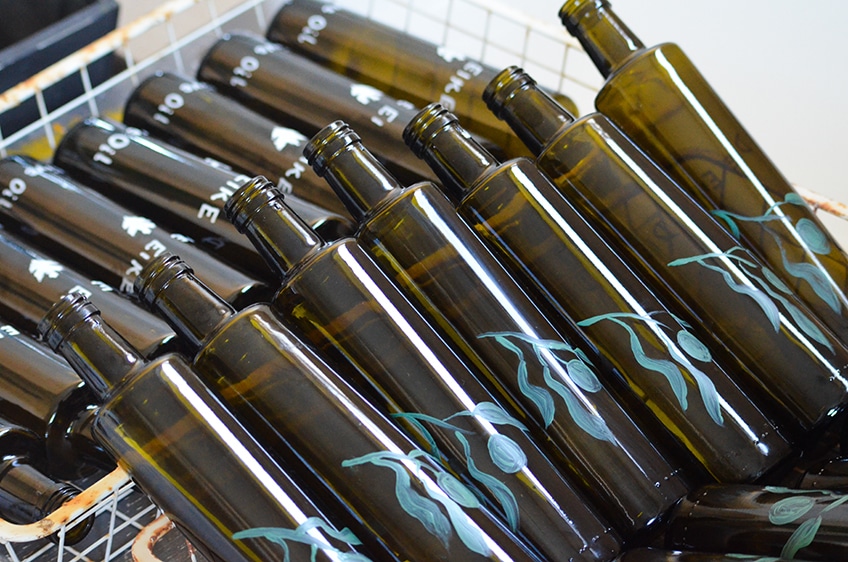
Most glass bottles and jars can be upcycled from previous food products, such as tomato sauce bottles or jam jars. You could also purchase brand new glassware, such as Mason jars, but we recommend cleaning and repurposing glass bottles that you already have. It is important to clean the bottles well and remove any labels with hot soapy water before you start the painting process. You can also use rubbing alcohol, or acetone, to remove any sticky marks on the bottle. This will also ensure that the paint sticks and binds well to the glass.

Which Paint Is Used for Bottle Art?
There are many different paints you can use for glass bottle painting. You could use spray paints, chalk paints, or acrylics, but which paint is used for bottle art, and which paint type is best? It is recommended to use acrylic enamel paint if you plan on creating detailed designs on your glass bottle. Acrylic enamel is a premium acrylic finish that is designed to dry fast and preserve well with excellent coverage. It is also easy to wipe and clean while it is still wet.
If you are painting text and fonts, it is suggested to use an acrylic pen or marker, especially if you are not too skilled with a paintbrush.
Setting Up Your Workspace
This is an important step to prepare when setting up your workspace for easy glass bottle painting. Ensure that you are working in a well-ventilated area because the acrylic enamel paint can become quite overwhelming in small closed spaces.
Also, make sure to cover your desktop with newspaper or plastic sheeting.
At first, bottle art painting and working on the glass surface can be quite tricky. You will most likely make a bit of a mess and make a few mistakes in the process, but there is something simply fantastic about learning a new process and shaping your skillset just that much more.
Other Materials, Tools, and Techniques You Can Use for Easy Glass Painting
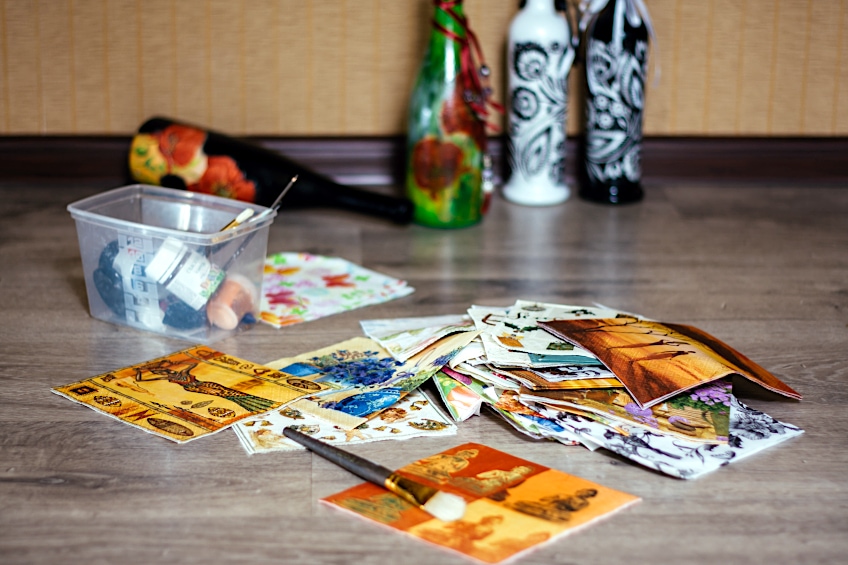
This is where you can start experimenting with different materials, tools, and techniques to create a truly unique glass bottle painting. You could include and mix in a variety of other mediums and embellishments, such as glitter, paper materials, string, metallic paints – you name it! You can also use a glue gun to create interesting textures or stencils to create interesting repeat patterns, outlines, and layers.
Another funky option is to paint the inside of your glass bottle by pouring paint into the bottle and swirling it until the inside is fully coated.
Step-by-Step Instructions on How to Paint Glass Bottles
This tutorial will guide you through how to paint glass bottles, as well as the preparation needed before the paint application process. Although these are a few simple steps for how to start the process of glass bottle painting, you are encouraged to experiment and explore different techniques to bring your glass bottle decoration ideas to life!
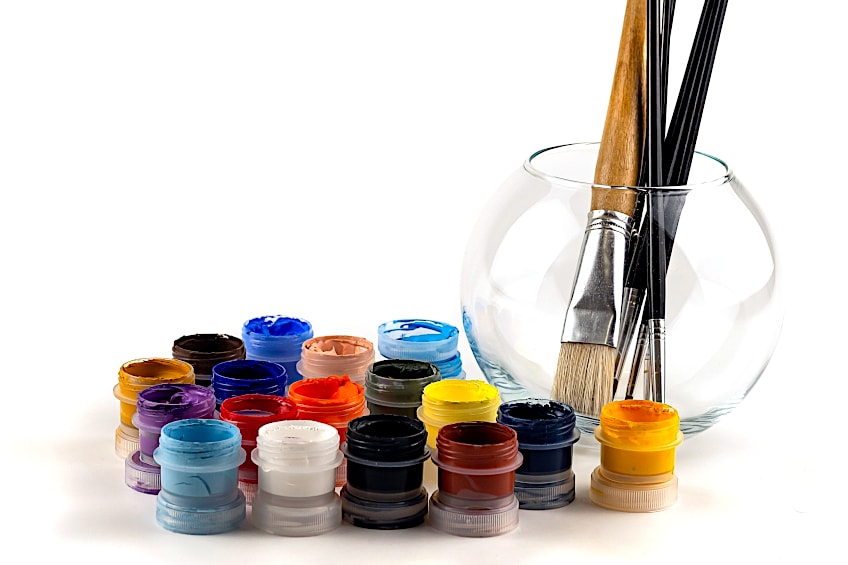
List of Tools and Materials
Once you have set up and covered your workspace, you can gather all the necessary tools and materials below before you begin your acrylic bottle painting project. You do not need all of these materials below to create a bottle art painting, but you are encouraged to simply use what you have to paint the design you desire to create!
- Glass bottles or jars
- Hot water
- Dishwashing soap
- Rubbing alcohol or acetone
- Paper towels or cotton balls
- Pencil
- Thick paper (300 gsm)
- Craft knife
- Paintbrushes
- Painting palette
- Acrylic marker or pen
- Acrylic paints or acrylic enamel paint (wall paint)
- Spray sealant or varnish
- Stencils
- Cutting board
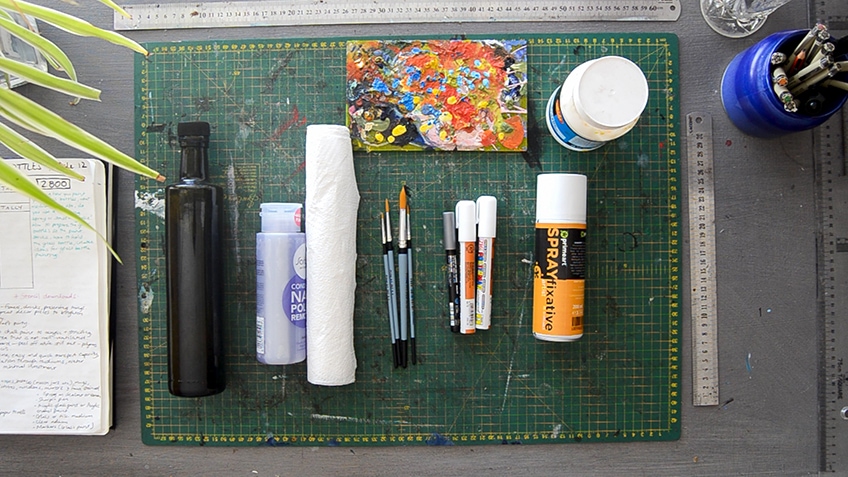
Spray sealants prevent smudging and provide a clear, durable finish to your artwork. The best, affordable sealant or varnish is the Krylon Workable Fixatif which adds an extra seal layer to the paintwork for your bottle art painting. Although fixatives provide a solid sealant layer, it does not mean that they will prevent your paintwork from chipping or cracking.
Preparing Your Glass Bottles
Whether you are using upcycled glass bottles or new ones, it is always recommended to clean and wipe down your glass materials. This will ensure that the acrylic paint will adhere and translate well onto the glass surface.
Step 1: Rinse Your Glass Bottles in Hot Water
Begin your preparations by rinsing your glass bottles in hot water. Try your best not to let the inside of the bottle get wet as this may affect the length of time it takes to dry. To do this, dip the bottle in a full sink of hot water and make sure to leave the top of the bottleneck out of the water.
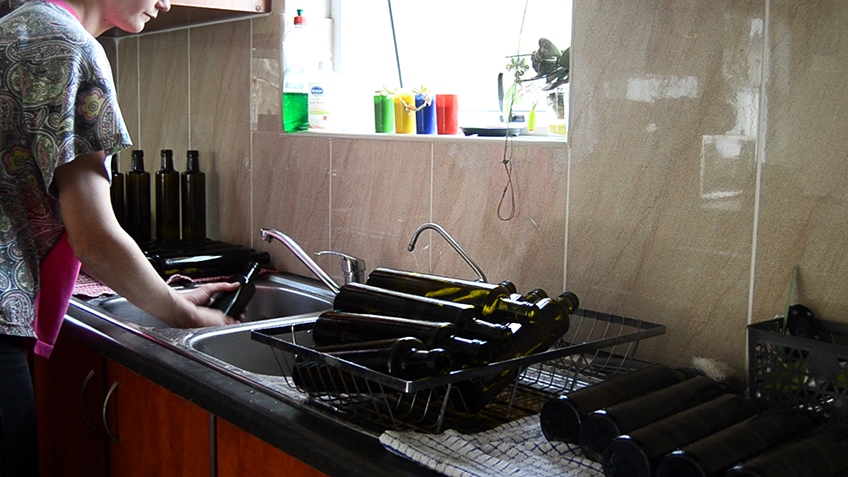
Step 2: Dry Your Glass Bottles With a Cloth
To speed up your drying process, you can dry each bottle with a soft cloth. Make sure that your glass bottles are completely dry before you move forward with the next process. Once they are dry, you can move them to your working space.

Step 3: Clean and Wipe Down Your Glass Bottles With Rubbing Alcohol
To ensure that there are no remnants of labels, dust, or sticky adhesive, clean and wipe down your glass bottles with rubbing alcohol or acetone (nail polish remover). You will only need to use a little bit of rubbing alcohol on the cotton balls or paper towels because it does tend to spread quite well.
Set your glass bottles aside to dry. This should only take a few seconds.
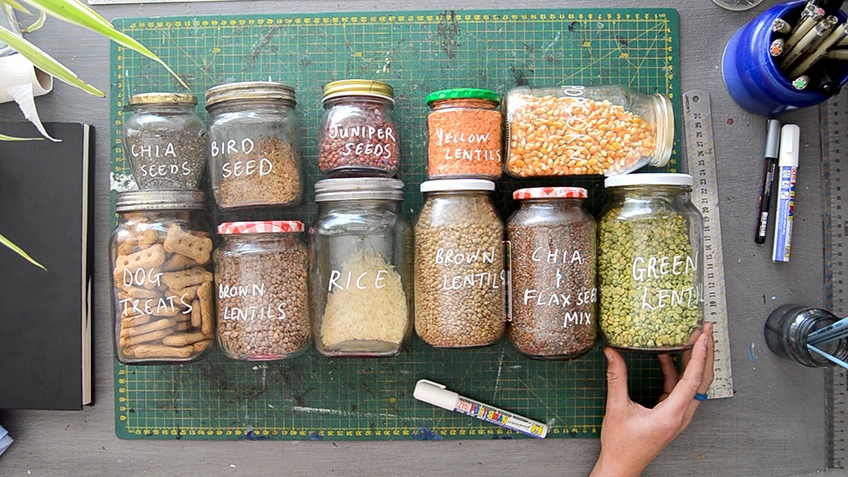
Writing Fonts and Text on Glass
Before you begin the process of glass painting on bottles, it is recommended to loosen your hand by attempting to write and draw fonts and texts on a scrap piece of paper or spare glass bottles and jars. This could be a good chance for you to look into your kitchen and label your pantry goods. In these next few steps, you will learn how to write clean text for easy glass bottle painting.
Step 1: Test Your Handwriting Using an Acrylic Marker
Start by testing your handwriting on any open bottle or jar. Hold the glass bottle with your non-writing hand, find the center, and give it your best shot by loosely writing the label in your choice of font style and capitalization. In this tutorial, the artist has experimented with labeling and writing white fonts on jars filled with a variety of legumes and other pantry goods.
The best way to learn how to paint on glass bottles is to experiment and become used to the surface of working onto the glass.

Step 2: Continue Writing the Labels on Each Bottle
Work your way through each jar by writing the necessary label required. Try and work systematically with a lot of space set aside for the process of drying the bottles. Once you have labeled all of your bottles or jars, set them aside to dry properly.
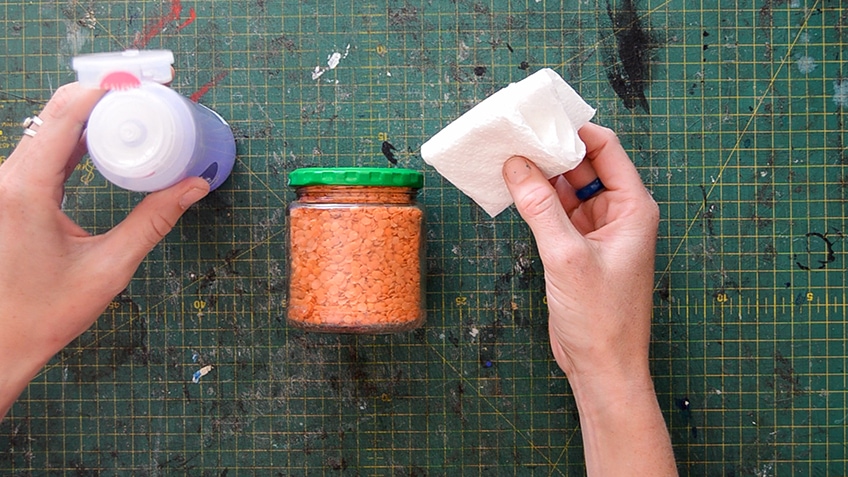
Step 3: Seal the Labels by Using a Spray, Fixative, or Varnish
To ensure that your labels do not rub off easily, use a spray sealant, fixative or varnish to coat and protect your writing. This will add an extra coat which will stop the text from smudging or fading. However, this does not mean that the paint is permanent.
Do not scrub the glass bottles or put them in the dishwasher.

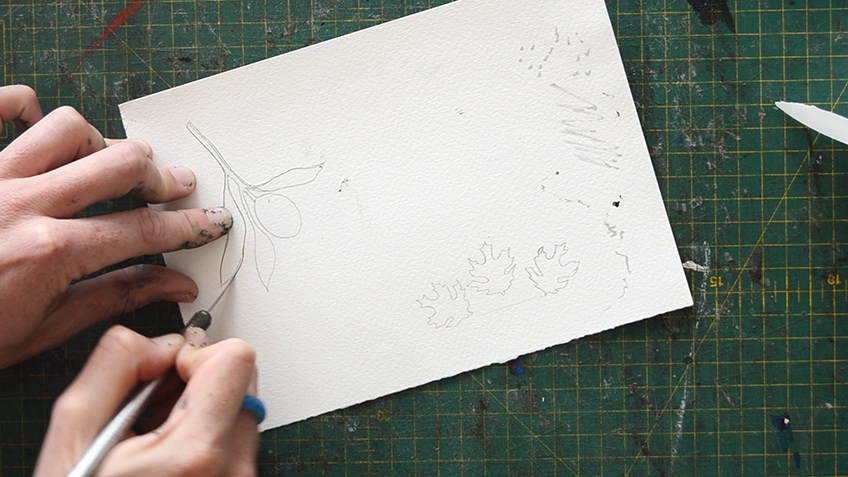
Creating Stencils and Patterns on Glass
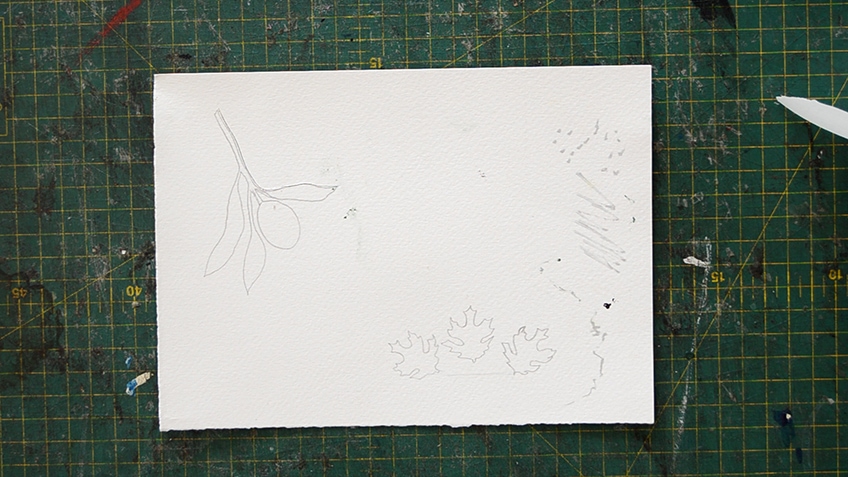
Stenciling is a great technique to use if you are a beginner at painting. You can create your stencils by drawing them up yourself or you can purchase pre-cut stencils online. In this tutorial, the artist makes use of hand-drawn stencils to create interesting imprints of branches and leaves.
Step 1: Sketch the Basic Outline of Your Stencil Design
Prepare your stencil by sketching the basic outline of your design with a pencil. This should be a very simple sketch of the image you would like to outline and print onto the glass bottle.
It is recommended to use thicker weighted paper so that the paper material can be used multiple times and does not disintegrate across a few uses.
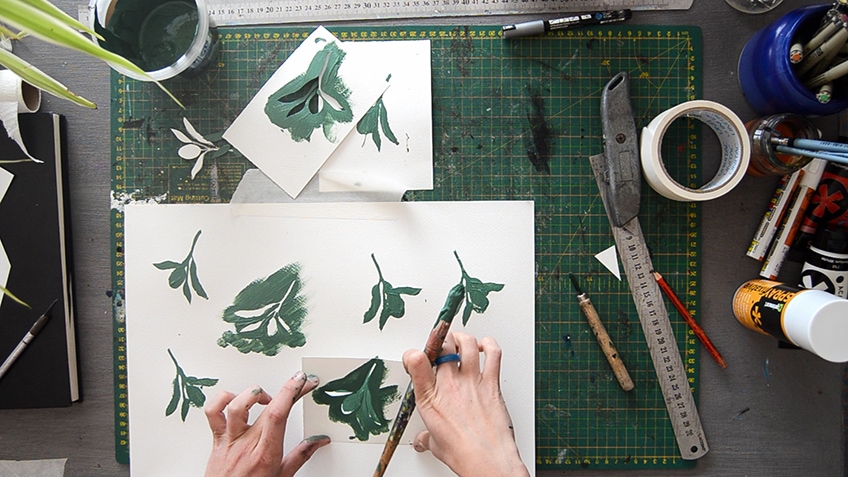
Step 2: Begin Cutting Out the Stencil Design Using a Craft Knife
Begin cutting out the stencil design by pressing through the paper using a sharp craft knife and cutting board. Press and cut through your stencil by following the outline drawn in your pencil planning. This step may take some time, so be patient and consistent with your crafting until you are happy with the desired outcome for your stencil design.
Step 3: Test Your Stencil
Test your stencil by experimenting on a scrap piece of paper first. Press your stencil to a surface and then use a paintbrush, and your choice of paint color, and run the brush over the stencil until all gaps are filled with paint. Carefully peel away the stencil working from one side to the next to reveal the outline of your design.
Once you feel comfortable enough with your stenciling technique, pick up a glass bottle, and go ahead and test your process.
Step 4: Allow Your Stencil Print to Dry
Once you are happy with how your stencils are translating onto the bottle or jar, set them aside to dry properly. You can also apply a layer of fixative if needed.
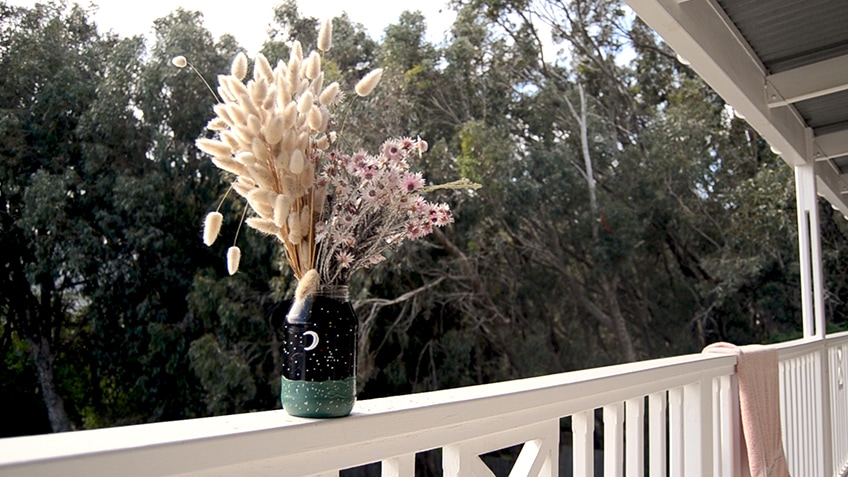
Acrylic Bottle Painting
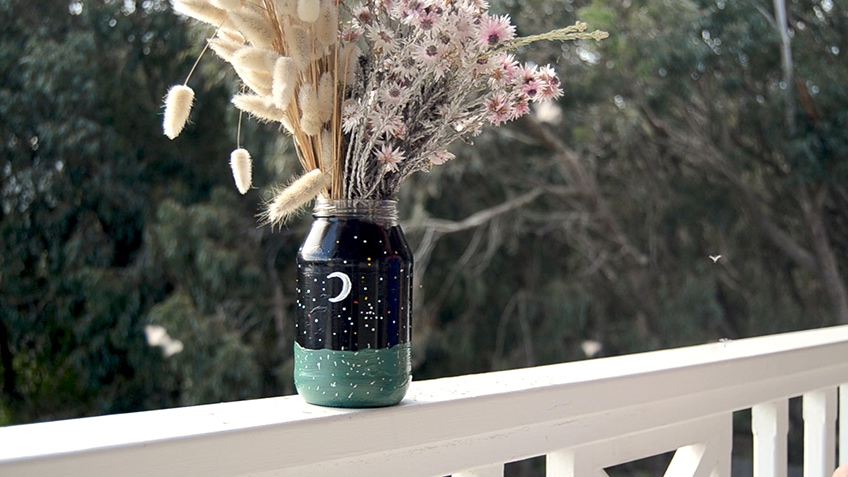
Now that you have tested a few different techniques on glass, you can go ahead and put your painting skills to the test. In this tutorial, the artist chose to paint a landscape scene on a glass jar with the idea of using the jar as a flower vase.
You are encouraged to use custom designs and add your creative flair by painting any scene or design you would like to!
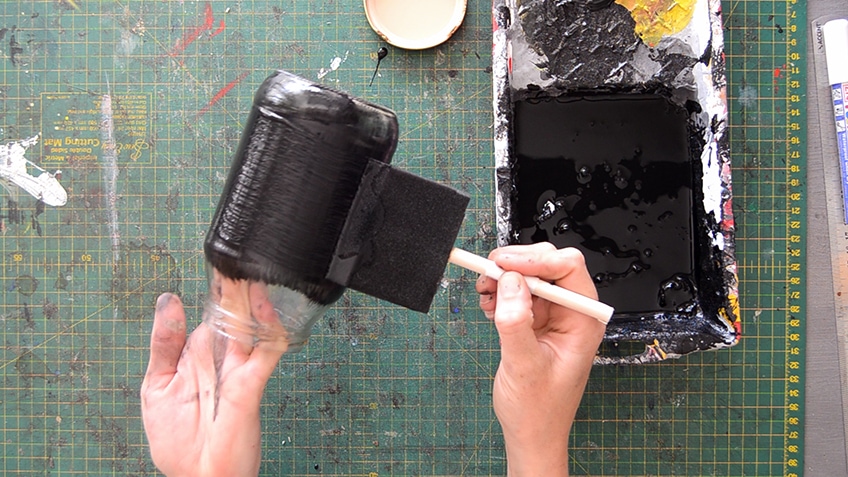
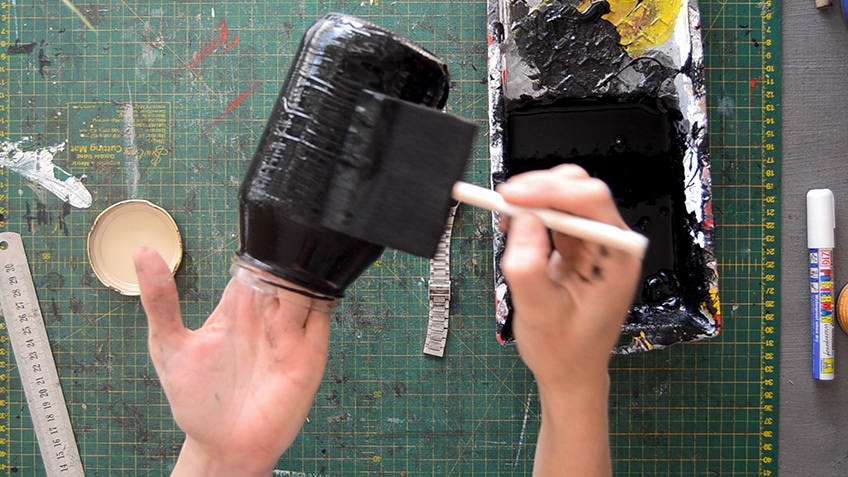
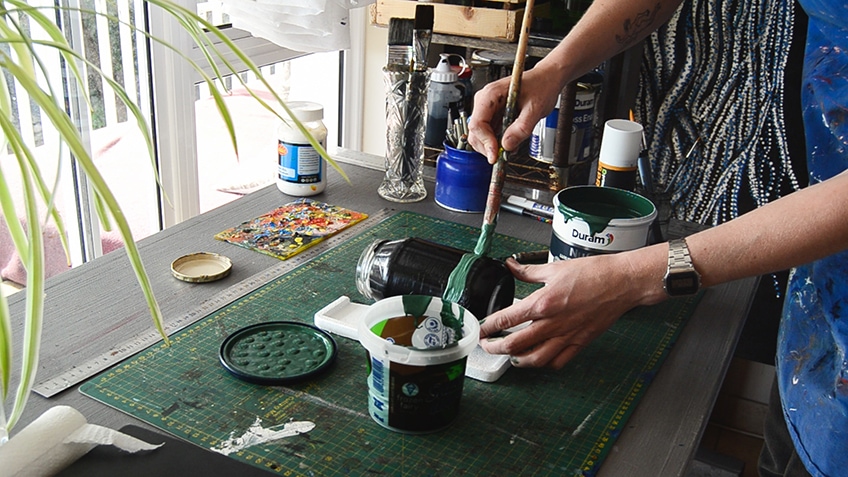
Step 1: Apply the First Layer of Paint
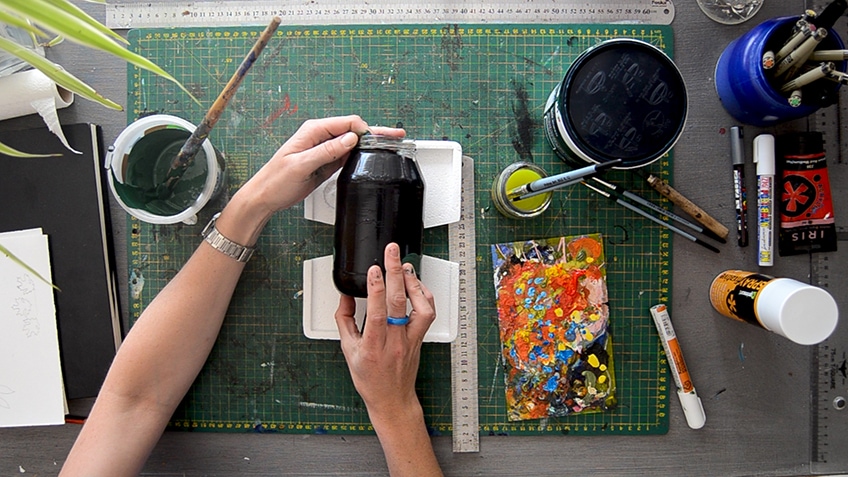
Begin by mixing your acrylic paints. Then, pick up your glass bottle, or jar, and place your non-writing hand inside the glass. This will help you handle the bottle better when you apply the wet paint. Using a wide paintbrush, or a sponge, add your first coat of paint and work your way around the glass. Leave the base of the bottle free of any paint. Place the jar on the table, with the bottom of the jar facing down, and leave to dry for 30 minutes or so.
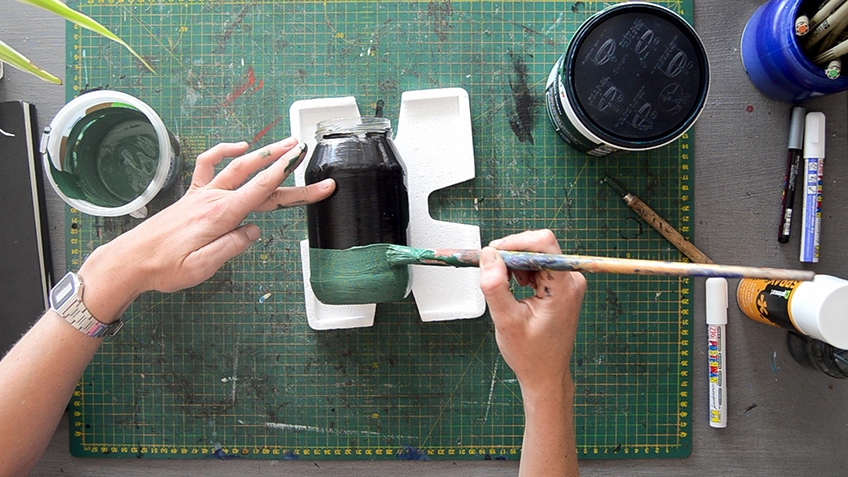
Step 2: Apply the Second Layer of Paint
Once the first coat of paint has dried and is not sticky, you can add the next layer of paint. Insert your non-writing hand inside the glass and begin painting the surface consistently. You should not require more than two layers of acrylic, but if there are still streaks in places, go ahead and apply that third coat once the second coat has dried.
Then paint the base of the glass bottle and turn it onto its lid-side to dry.
Step 3: Mix Your Paints for Acrylic Bottle Painting
Now you can start mixing your paints according to your desired color palette. It is recommended to use high contrasting tones and a variety of colors to create a striking glass painting on a bottle.

Step 4: Begin Adding More Details to Your Glass Bottle Painting
Start by working on the front-facing side of your glass bottle or jar.
Now begin adding more details to your painting. You can paint your background layer first then any other elements that feature in your design.
Allow the painted side to dry properly before the next step.

Step 5: Turn the Glass Over and Continue Adding Detail
Turn the glass over and continue adding detail to your painting on the opposite-facing side. Once you have added all the elements you wish to include in your painting, allow the glass bottle painting to dry fully.
Step 6: Seal Your Glass Bottle Painting With a Few Layers of Fixative
Once your painting has dried, hold your fixative spray about a few inches away from the jar and spray consistently while turning the jar.
You are encouraged to add two layers of sealant or fixative to protect your artwork as best as possible.
Other Glass Bottle Decoration Ideas
There are many uses for glass painting on bottle surfaces. You can repurpose and add a unique touch to glass by adding embellishments such as beads, string, glitter, buttons, paper cut-outs, fabrics, ribbons, and many other decorations.
Personalized Gifts
A bottle art painting can be a great gift to someone. You can select a palette of colors you know the person receiving the gift will love. The time and consideration it takes to create something so unique and considered make a glass bottle painting a really wonderful present!
Decor Items
An acrylic bottle painting can also feature as a signature piece in your kitchen or lounge. You can upcycle glass by painting a range of colors on the bottle and inserting fairy lights. This will transform the bottle to act as a comforting light in a reading corner.
You can simply use glass bottles to label pantry goods, as shown in this tutorial.
Host a Glass Bottle Painting Evening
Another fantastic idea for upcycling glass bottles is to gather guests and host a glass bottle painting evening. A chance for you to share your interests with friends, engage one another in playful experimentation and have a whole lot of fun in the process! You could guide your guests through the process of glass bottle painting by using this tutorial and introducing them to a new skill.
At the end of the paint sessions, you could even trade your glass bottle paintings with one another.

Now that you know the ins and outs of bottle art painting, this could be your new favorite craft! It is a truly wonderful way of upcycling and repurposing materials, as well as a unique way of decorating your home space. With the right materials and a bit of experimentation, you will know just how easy glass bottle painting can be. Dive in and follow the steps in the tutorial above to create your very own glass bottle painting.
Frequently Asked Questions
Which Paint Is Good for Bottle Art?
The best paint you could use for learning how to paint glass bottles is either acrylic enamel paints or acrylic glass paints. Acrylic paints dry quickly with easy cleanup and they are also water resistant once dry. You can even use spray paints or chalk paint. If you do not have any of those types of paints, you can purchase an acrylic gel medium to thicken the paints you already have.
Is Painting on Glass Easy?
Glass is a fantastic canvas for paint. Although the surface is smooth, reflective, and often slippery to work with, it can be an easy new skill to add to your list of arts and crafts. You can use almost any paint or markers to create an easy glass bottle painting, but it is recommended to first get to know what you would like to do with your bottle art painting and which paints will be permanent.
How Do You Prepare Glass for Acrylic Painting?
All you need to prepare to create an easy glass bottle painting is to wash the glass thoroughly with warm soapy water to remove any residue, dust, or dirt. You can also wash down the surface of the glass with rubbing alcohol or acetone (nail polish remover). It is important to allow the glass to dry properly before applying layers of paint.

In 2005, Charlene completed her Wellness Diplomas in Therapeutic Aromatherapy and Reflexology from the International School of Reflexology and Meridian Therapy. She worked for a company offering corporate wellness programs for a couple of years, before opening up her own therapy practice. It was in 2015 that a friend, who was a digital marketer, asked her to join her company as a content creator, and this is where she found her excitement for writing.
Since joining the content writing world, she has gained a lot of experience over the years writing on a diverse selection of topics, from beauty, health, wellness, travel, and more. Due to various circumstances, she had to close her therapy practice and is now a full-time freelance writer. Being a creative person, she could not pass up the opportunity to contribute to the Art in Context team, where is was in her element, writing about a variety of art and craft topics. Contributing articles for over three years now, her knowledge in this area has grown, and she has gotten to explore her creativity and improve her research and writing skills.
Charlene Lewis has been working for artincontext.org since the relaunch in 2020. She is an experienced writer and mainly focuses on the topics of color theory, painting and drawing.
Learn more about Charlene Lewis and the Art in Context Team.


